Create Virtual Account
Upload a formatted Excel file to create multiple virtual accounts for the same country simultaneously. Download the template to ensure your file meets the country-specific requirements.
Prerequisites
Before you begin, ensure you have:
Access Requirements
- Valid credentials for the Localpayment Dashboard
- User account with appropriate permissions
Navigation Path
Side Menu → PayIn → Virtual Accounts → Create Batch UploadStep-by-Step Guide
Follow these steps to create a virtual account request:
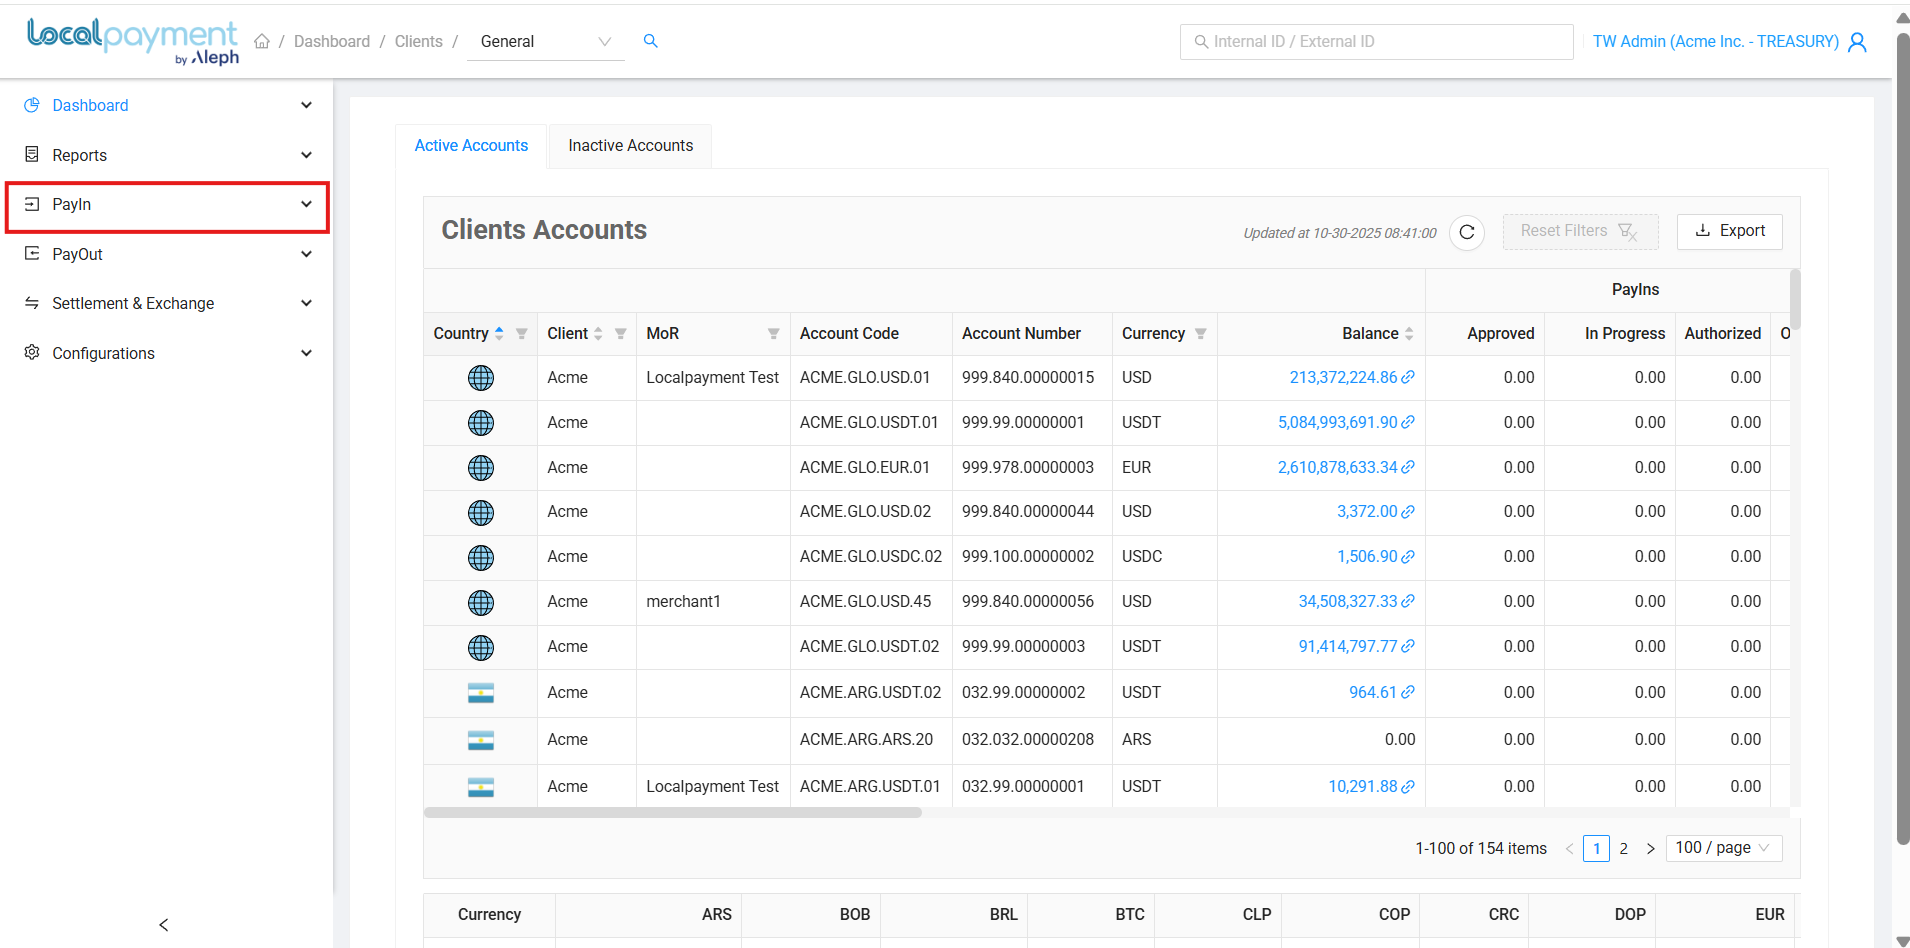
- Navigate to the PayIn module from the main dashboard menu.
- Within the PayIn module, select the Virtual Accounts section from the submenu.
- Click on the Create Batch Upload section to initiate a new batch upload request.
- Use the country filter to locate your batch creation country.
- Identify the correct account number from the displayed options and click the Select button.
- Download your country's template by clicking the Template button.
- Complete the template with your information and upload the Excel file by clicking or dragging it into the upload area.
File Naming Requirement
Name your file using this format:
ClientName-ISO3CountryCode-YYYYMMDD-Number
- After selecting your file, click Upload. The system will validate the file contents.
- Verify your virtual account information is correct, then click Confirm to proceed.
- A confirmation message will appear. Select Yes to create the virtual accounts.
- The system will now create the virtual accounts. Once complete, a success message will appear. Click Download to retrieve the file containing your virtual account information.
1234567891011
Step 1
Navigate to the PayIn module from the main dashboard menu.

Need Help? If you have questions about this process or any other feature, our support team is here for you. We can assist with troubleshooting, integration planning, and optimization.
Updated 3 days ago
