Frequent Items
Learn how to manage your Frequent Items library in Localpayment Dashboard, including adding products, creating categories, and organizing items for webcheckout and link payment transactions.
The Frequent Items feature provides a centralized product library within your Localpayment Dashboard. This powerful tool allows you to store and manage products that can be quickly accessed during webcheckout and link payment transactions, streamlining your payment processes and improving efficiency.
- Create and manage product categories
- Store frequently used products and services
- Quick access during checkout transactions
- Support for multiple currencies
- Detailed product descriptions and pricing
- Faster transaction processing
- Consistent product information
- Reduced manual data entry
- Better organization of products
- Improved customer experience
Prerequisites
Before you begin, ensure you have:
Access Requirements
- Valid credentials for the Localpayment Dashboard
- User account with appropriate permissions
Preparation
- Product information ready (names, codes, prices)
- Category structure planned
Navigation Path
Side Menu → PayIn → Checkout → Frequent ItemsAdding Products to Your Library
Follow these steps to add new items to your Frequent Items library:
- Navigate to the PayIn module from the side menu.
- Select the Checkout section.
- Then, select the Frequent Items section.
- Click the Add item button within the category where you want to add your product.
- Fill in the required product details:
- Title: The product name that will be displayed.
- Code: A unique identifier for the product.
- Category: Pre-selected based on your choice, but can be changed.
- Description: Detailed information about the product.
- Currency: Select the appropriate currency for pricing.
- Unit Price: The cost per unit of the product.
- Click Accept to save your product. A confirmation message will appear to confirm successful addition.
Category Management
Categories help organize your products for easier navigation and selection during transactions.
Creating a New Category
- Click the Add category button in the Frequent Items section.
- Enter the Category Name.
- Click Accept to create the category.
- A confirmation message will appear upon successful creation.

Editing Existing Categories
- Click the Edit icon next to the category you want to modify.
- Update the category name as needed.
- Click Accept to save changes.
- Confirm the action when prompted.

Removing Categories
- Click the Delete icon next to the category
- Review the confirmation message carefully
- Click OK to permanently remove the category
Warning
Deleting a category will also remove all products within it. Consider moving products to another category first if needed.

Product Management
Editing Existing Products
To modify product information:
- Locate the product in your Frequent Items library.
- Click the Edit icon next to the product.
- Update any of the following fields: Title, Code, Category, Description, Currency, and Unit Price.
- Click Accept to save your changes.
- Confirm the update when prompted.

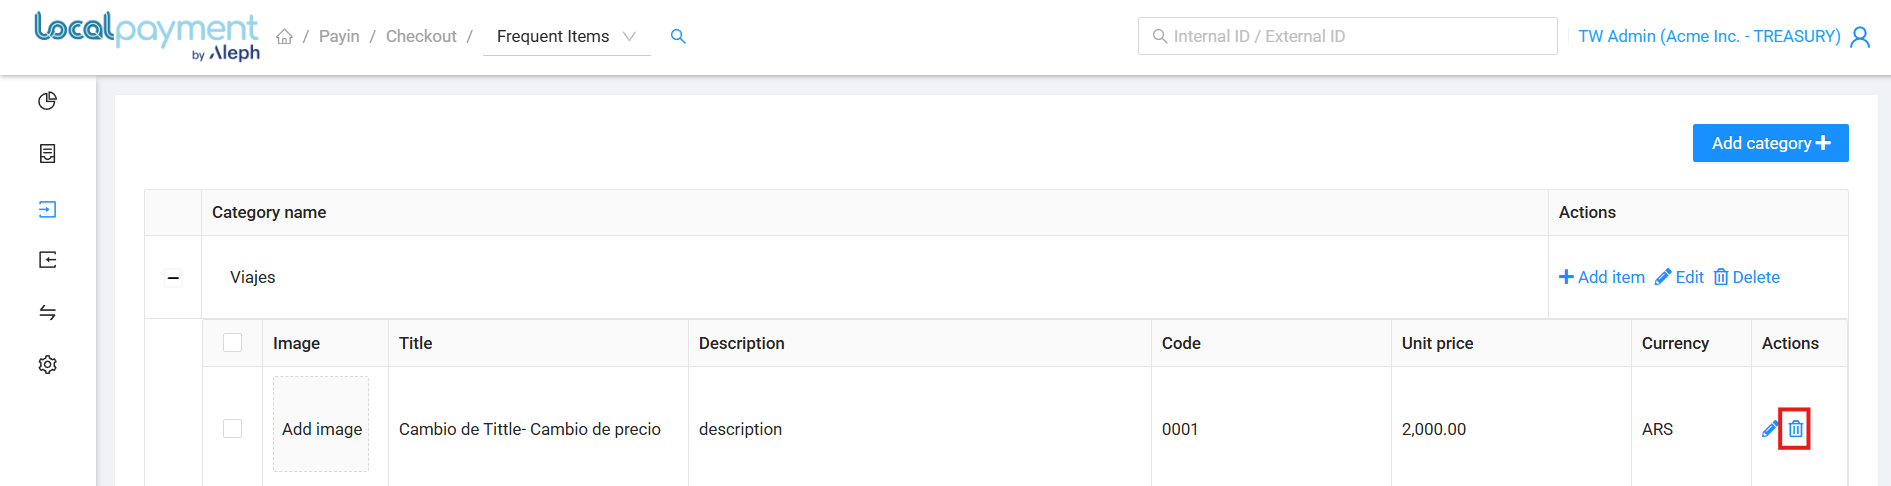
Removing Products
To delete a product from your library:
- Find the product you wish to remove.
- Click the Delete icon.
- Review the confirmation message.
- Click OK to permanently remove the product.
Need Help? If you have questions about this process or any other feature, our support team is here for you. We can assist with troubleshooting, integration planning, and optimization.