Appearance Customization
Customize the visual appearance of your checkout components by personalizing the color scheme of your iframes and payment links to match your brand identity.
Prerequisites
Before you begin, ensure you have the following:
Access Requirements
- Active credentials for the Localpayment Dashboard
- User account with appropriate appearance settings permissions
Navigation Path
Follow this path to access the appearance settings:
Side Menu → PayIn → Checkout → AppearanceStep-by-Step Guide
Follow these steps to customize the appearance of your checkout components:
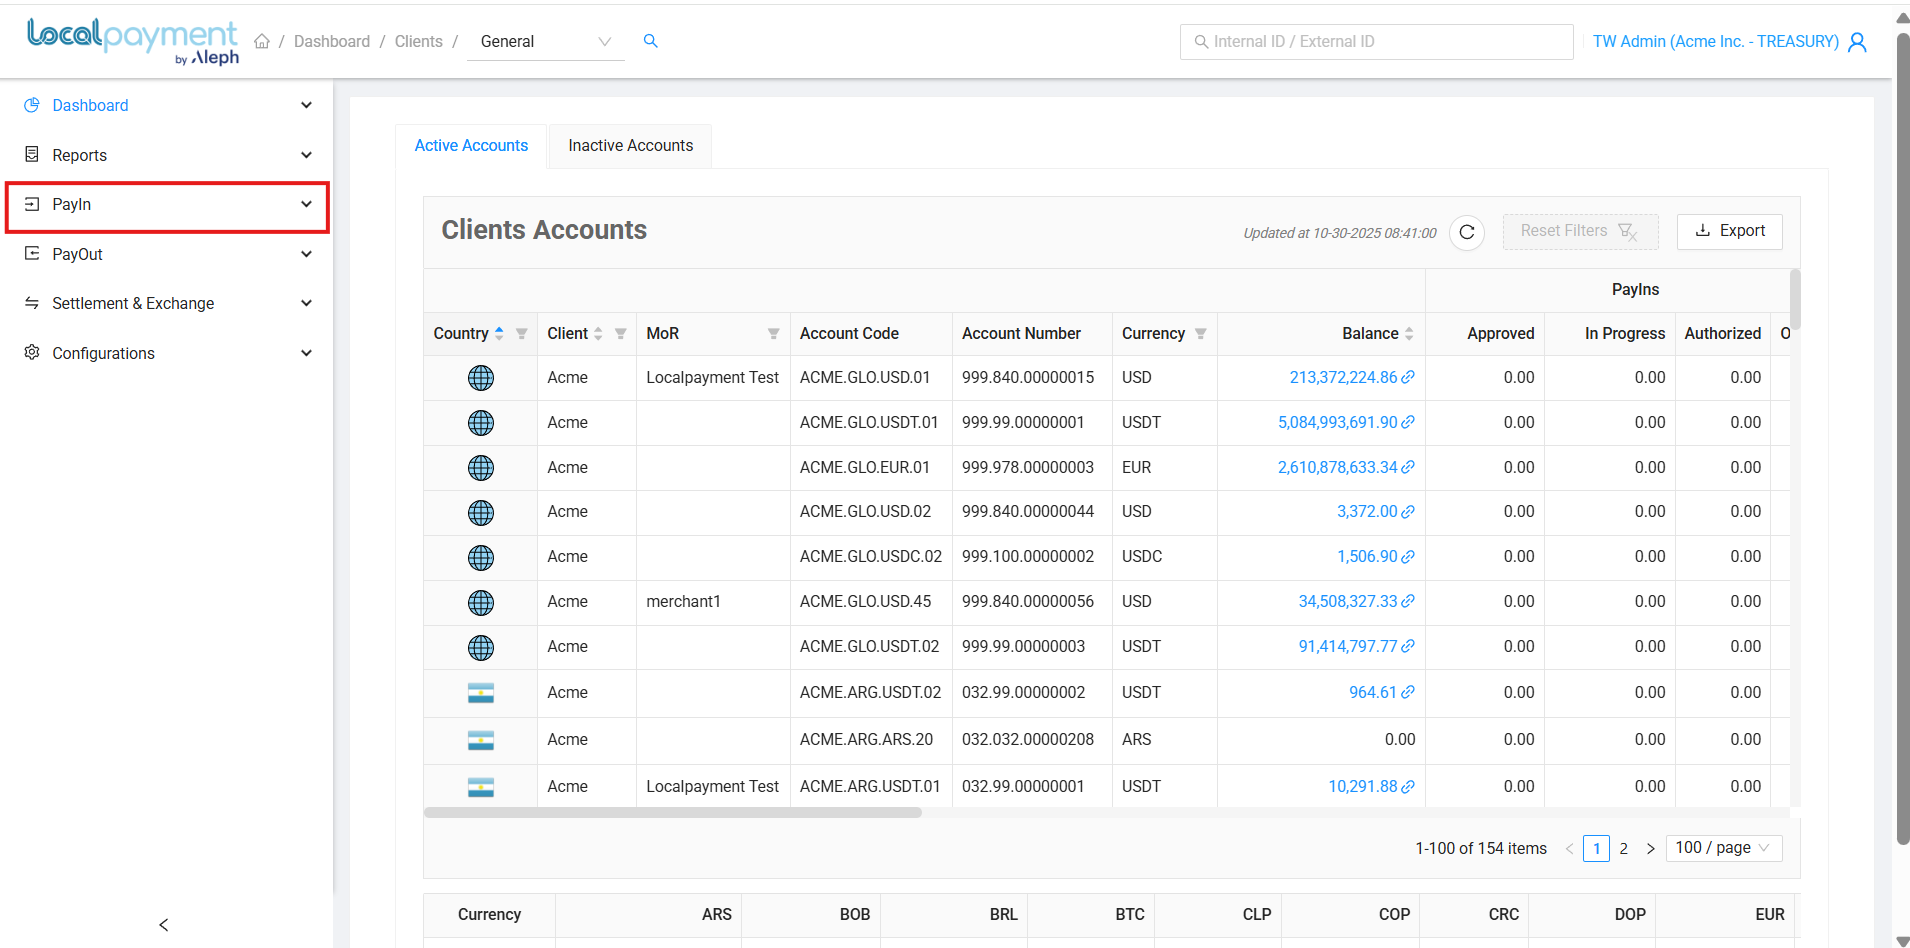
- Navigate to the PayIn module from your dashboard's side menu.
- Within the Payins module, select the Checkout section.
- Click on the Appearance tab to open the visual customization options.
- Choose which component you want to customize: iFrame for embedded checkout forms or Link for Link payment.
- Use the color picker to select a color that aligns with your brand guidelines. You can enter a specific hex code or use the visual selector.
- Click the Save Current button to apply the selected color to your chosen component. The changes will take effect immediately.
Additional Options:
- Set Default: Apply the default color scheme to both iFrame and Link components simultaneously.
- Save All: Apply your selected color to all checkout components at once for consistent branding.
123456
Step 1
Navigate to the PayIn module from your dashboard's side menu.

Need Help? If you have questions about this process or any other feature, our support team is here for you. We can assist with troubleshooting, integration planning, and optimization.
Updated 3 days ago
