Webhooks
Webhooks/Callbacks allow Localpayment to send real-time notifications to your server about events such as transaction updates, payment status changes, and more. This guide will walk you through the steps to set up and configure webhooks in your Localpayment Dashboard.
Why Use Callbacks?
Receive instant notifications about payment status changes, transaction confirmations, and processing updates as they happen.
Trigger automated processes in your system based on payment events, enabling seamless order fulfillment and customer communication.
Get immediate alerts for suspicious activities, failed transactions, or security events to protect your business and customers.
Prerequisites
Before you begin, ensure you have:
Access Requirements
- Valid credentials for the Localpayment Dashboard.
- User account with security settings permissions.
Technical Requirements
- A publicly accessible server endpoint URL that can receive HTTP POST requests.
- Server capability to process and respond to webhook notifications.
Navigation Path
Side Menu → Configurations → Client → Edit → Notifications → CallbacksStep-by-Step Guides
URL Webhooks
-
Navigate to the Configurations module.
-
Within Configurations, select the Clients section.
-
Click the Edit option to open your account settings.
-
In your account settings, locate and select the Notifications tab.
-
Select Callbacks from the Notifications menu.
-
Choose the URL tab to configure real-time webhook notifications to your server.
-
Click the Add button.
-
Enter the URL of your server endpoint that will receive the webhook notifications.
-
Select the Country field, and all available countries will appear.
-
Select an Account. This field lists all of your Localpayment accounts for the selected country. If you choose All in the Country field, you must also pick All in the Account.
-
If your integration requires custom headers, click the Add Header button.
11.1 For each header, specify its Key and its corresponding Value.
-
Finalize the process by clicking Save and a confirmation message will appear.
Email Webhooks
- Navigate to the Configurations module.
- Within Configurations, select the Clients section.
- Click the Edit option to open your account settings.
- In your account settings, locate and select the Notifications tab.
- Select Callbacks from the Notifications menu.
- Choose the Email tab to configure email-based notifications.
- Click the Add button.
- Enter the Email address that will receive the webhook notifications.
- Select the Country field, and all available countries will appear.
- Select an Account. This field lists all of your Localpayment accounts for the selected country. If you choose All in the Country field, you must also pick All in the Account.
- Select a Type of Transaction from the available options: Wire In or Wire Out.
- Finalize the process by clicking Save and a confirmation message will appear.
Managing Your Webhooks
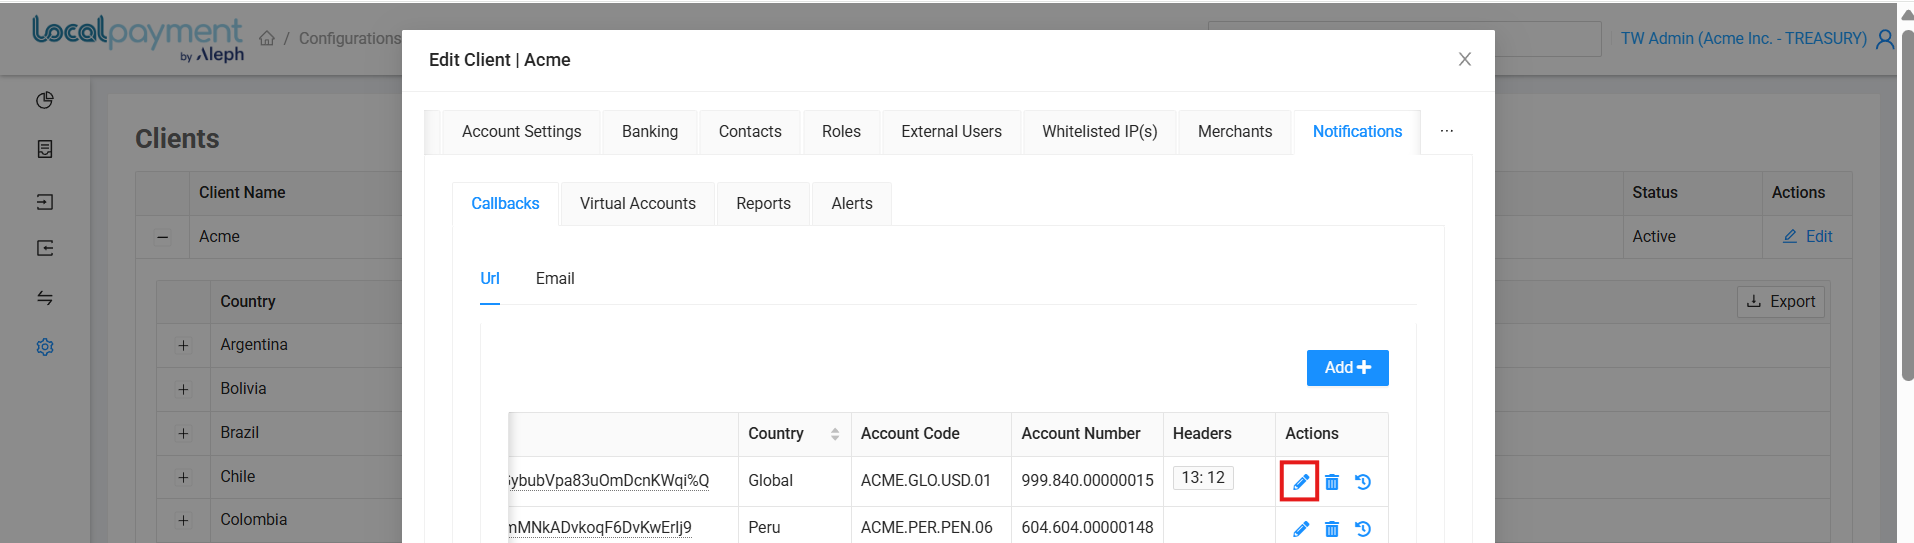
Modifying Existing Webhooks
- Click the Edit icon for the desired webhook configuration.
- Update the webhook's URL/Email, authentication headers (Key/Value pairs), notification settings, or type of transaction.
- Click Save to apply the changes.
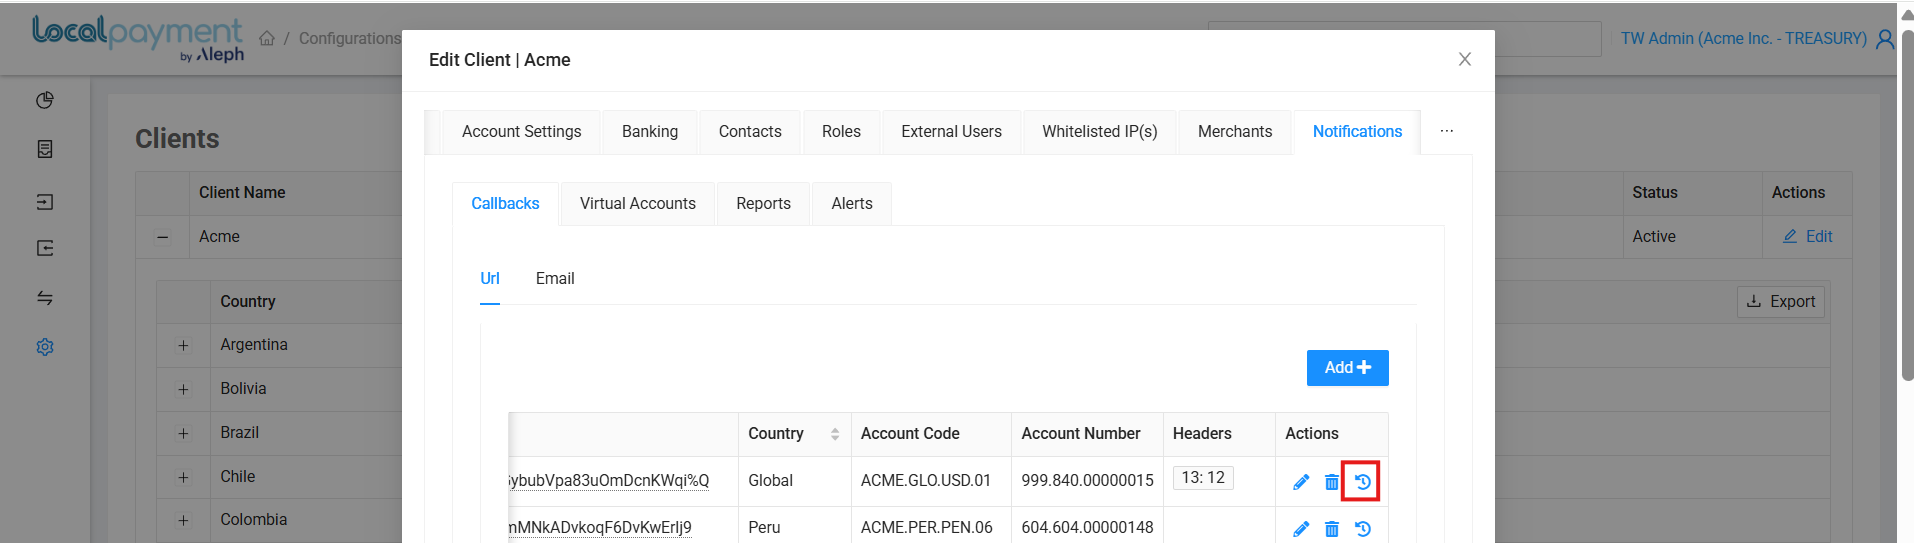
Webhook's History
- Click the History icon for the desired webhook.
- The webhook's details and a history of changes—including the editor, action, and date—will be displayed.
Removing Webhooks
- Click the Delete icon next to the webhook you want to remove.
- Confirm the action by clicking OK.
- The webhook will be immediately deactivated and removed from your configuration.

Need Help? If you have questions about this process or any other feature, our support team is here for you. We can assist with troubleshooting, integration planning, and optimization.