Clients information
This guide will walk you through the steps to find your official company details.
The information on this page is provided for your review and reference. The fields are not editable from the dashboard. If you find any information that is incorrect or needs to be updated, please contact your Account Manager.
Prerequisites
Before you begin, ensure you have:
Access Requirements
- Valid credentials for the Localpayment Dashboard
- User account with security settings permissions
Navigation Path
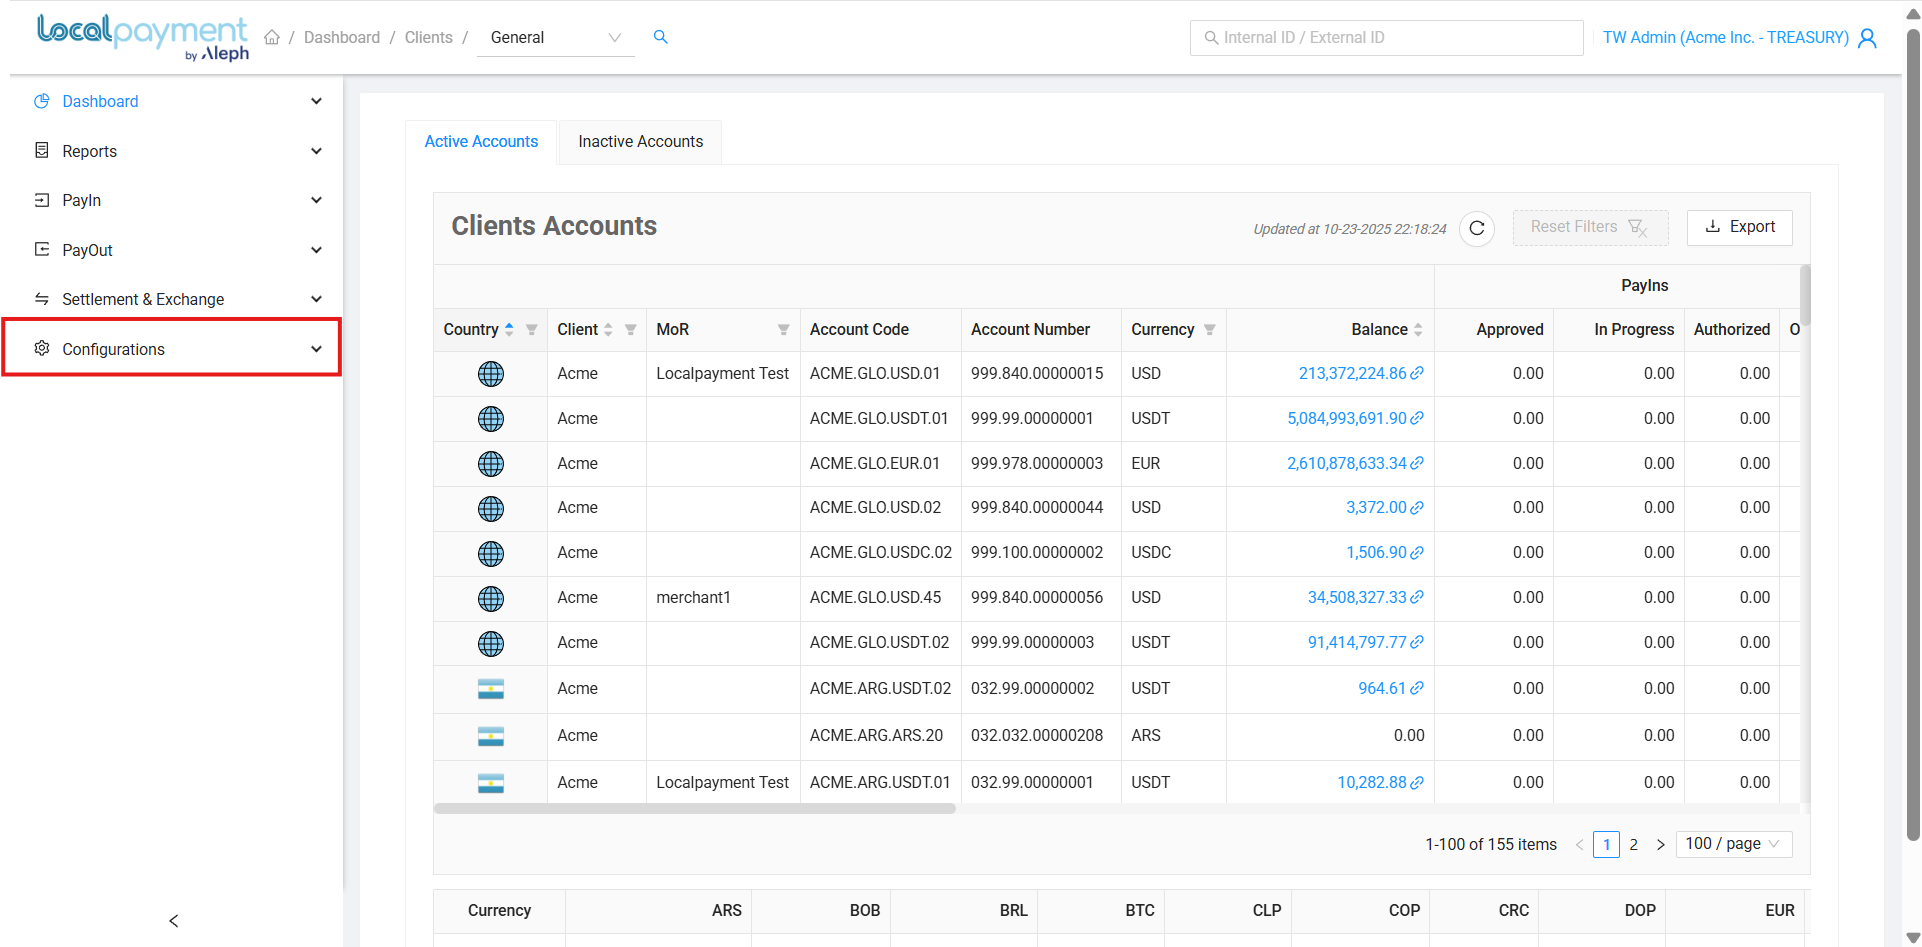
Side Menu → Configurations → Client → Edit → InformationStep-by-Step Guide
- Navigate to the Configurations module.
- Within Configurations, select the Clients section.
- Click the Edit option for the specific client you are configuring.
- In the client settings, locate and select the Information tab.
1234
Step 1
Navigate to the Configurations module.

Information You Will Find
On the Information tab, you will find the following read-only fields that define your account with Localpayment:
- Code: Your unique client identifier within our system.
- Legal Name: The official registered name of your business.
- Known As: The trade name or "Doing Business As" (DBA) name, if different from the legal name.
- Short Name: An abbreviated version of your company name used internally for reporting.
- Address: The primary physical address of your business.
- Country: The country where your business is legally registered.
- Status: The current status of your account.
- Tax ID: Your business's tax identification number.
- Payment Processor: Indicates if you are a payment processor.
- Ripple Net Partner: Indicates if you are connected as a Ripple Net Partner.
- Account Manager: The name of your dedicated LocalPayment Account Manager.
- Website: Your company's official website URL.
- Notes: Any important internal notes related to your account.
Need Help? If you have questions about this process or any other feature, our support team is here for you. We can assist with troubleshooting, integration planning, and optimization.
Updated 3 days ago
