Web Checkout
Learn how to generate payment requests using the Web Checkout feature in the Localpayment Business Portal.
The Web Checkout feature allows you to generate payment requests directly from the Localpayment Business Portal's front-end interface. This streamlined process enables you to create transactions without API integration.
Prerequisites
Before you begin, ensure you have:
Access Requirements
- Valid credentials for the Localpayment Business Portal
- User account with appropriate permissions for creating payment requests
Additional Requirements
- Payer's information
- Payment methods enabled for your account
Navigation Path
Side Menu → PayIn → Checkout → Web CheckoutStep-by-Step Guide
- Navigate to the PayIn module from the side menu.
- Select the Checkout section.
- Then, select the Web Checkout section.
- Configure the Account Information settings:
- Country: Select the country where the payment will originate.
- Destination Account: Choose the account that will receive the payment.
- Click Next to proceed.
- Complete the Payer information section:
- Type: Select "Individual" or "Company".
- Name: Enter the payer's first name or the legal business name.
- Last Name: Enter the payer's last name (only for individuals).
- Document Type: Select the appropriate identification type
- Document ID(Optional): Enter the identification number
- Email: Provide a valid email address
- Phone (Optional): Add contact number for reference
- Click Next to continue.
- Select the transaction Currency.
- For Amount, choose one of the available options:
- Enter a specific amount directly.
- Enable Add detailed items to itemize the transaction.
Frequent Items
If you've enabled detailed items, you can select from previously saved frequent items or create new ones. Items added to the cart will automatically be saved for future use.
- Assign an External ID for your internal tracking purposes.
- If applicable, add Shipping Address:
- Country: Destination country
- State/Province: Regional subdivision
- City: City name
- Street Address: Full street address
- Additional Comments: Any delivery instructions or notes
- Click Next to continue.
- Select a Payment Method Type from available options:
- Credit Card
- Debit Card
- Bank Transfer
- Choose a specific Payment Method provider from the available options.
Available payment methods depend on your account configuration and the selected destination account's capabilities.
- Provide method-specific Payment Details information.
- Click Submit to generate the payment request. Depending on the payment method:
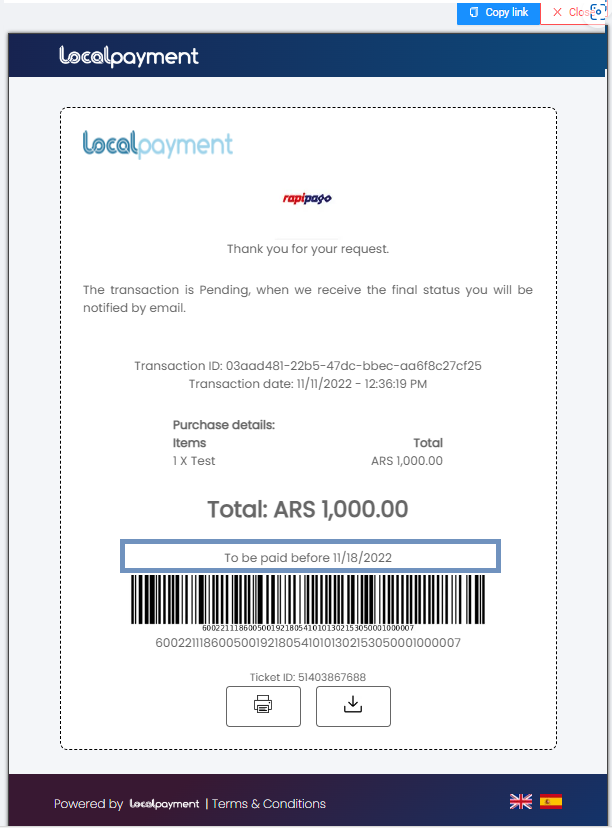
- Card payments: You'll receive immediate payment confirmation.
- Bank transfers: You'll receive payment instructions or a receipt.
Payout Confirmation
Important
Payments must be completed before the expiration date indicated in the payment request. Expired requests will need to be regenerated.
Need Help? If you have questions about this process or any other feature, our support team is here for you. We can assist with troubleshooting, integration planning, and optimization.
Updated 3 days ago